Setup
How to create a read-only Stripe API key for PayBar
Create a restricted Stripe key, grant read access for the metrics you need, and connect PayBar on your Mac.
Create a restricted key in Stripe
- Open API keys in the Stripe Dashboard. Choose the Stripe account and the environment you want to track. Use live mode for real sales or a test environment to try it with test data.
- Choose Create restricted key and name it PayBar.
- For sales and balance, give Read access to Balance and Balance transactions. Leave unrelated resources at None and keep write access off.
- Create the key and copy it into PayBar. Stripe shows a live restricted key value once when it’s created.
See Stripe’s restricted API key documentation for the Dashboard steps. A restricted key begins with rk_live_ or rk_test_.
Add the key in PayBar
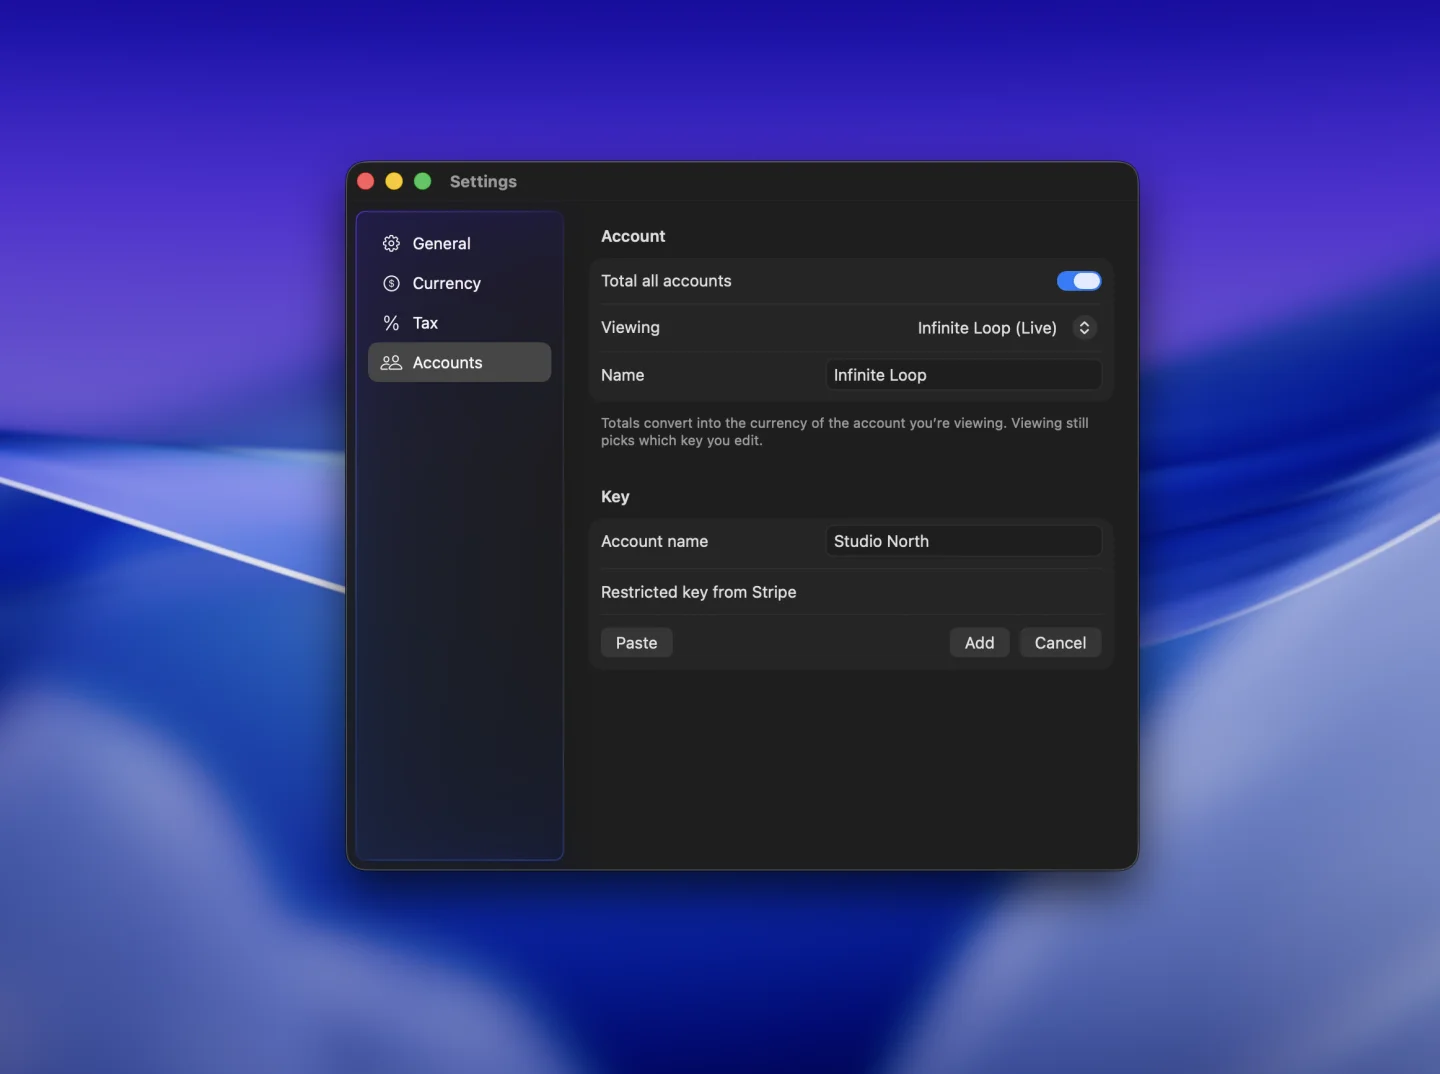
Click PayBar in the Mac menu bar and open Settings → Accounts. If you already have an account, choose Add account…. Enter a recognizable account name, paste the restricted key, and select Add. PayBar saves the key in your Mac’s Keychain and uses it to connect directly to Stripe.
Allow additional metrics as needed
Sales and balances are a starting point. Recurring revenue and subscriber metrics also need read access to subscriptions. For disputes and high-risk payments, enable read access to Payment Disputes or Charges and Refunds for the metric you want to track.
If the wrong account is showing, check the name under Viewing in PayBar and whether the key is for live or test data. Use Replace key… in Accounts to switch to a new key.
PayBar on your Mac
A 24-hour free trial will be available when online checkout opens.
Launch details